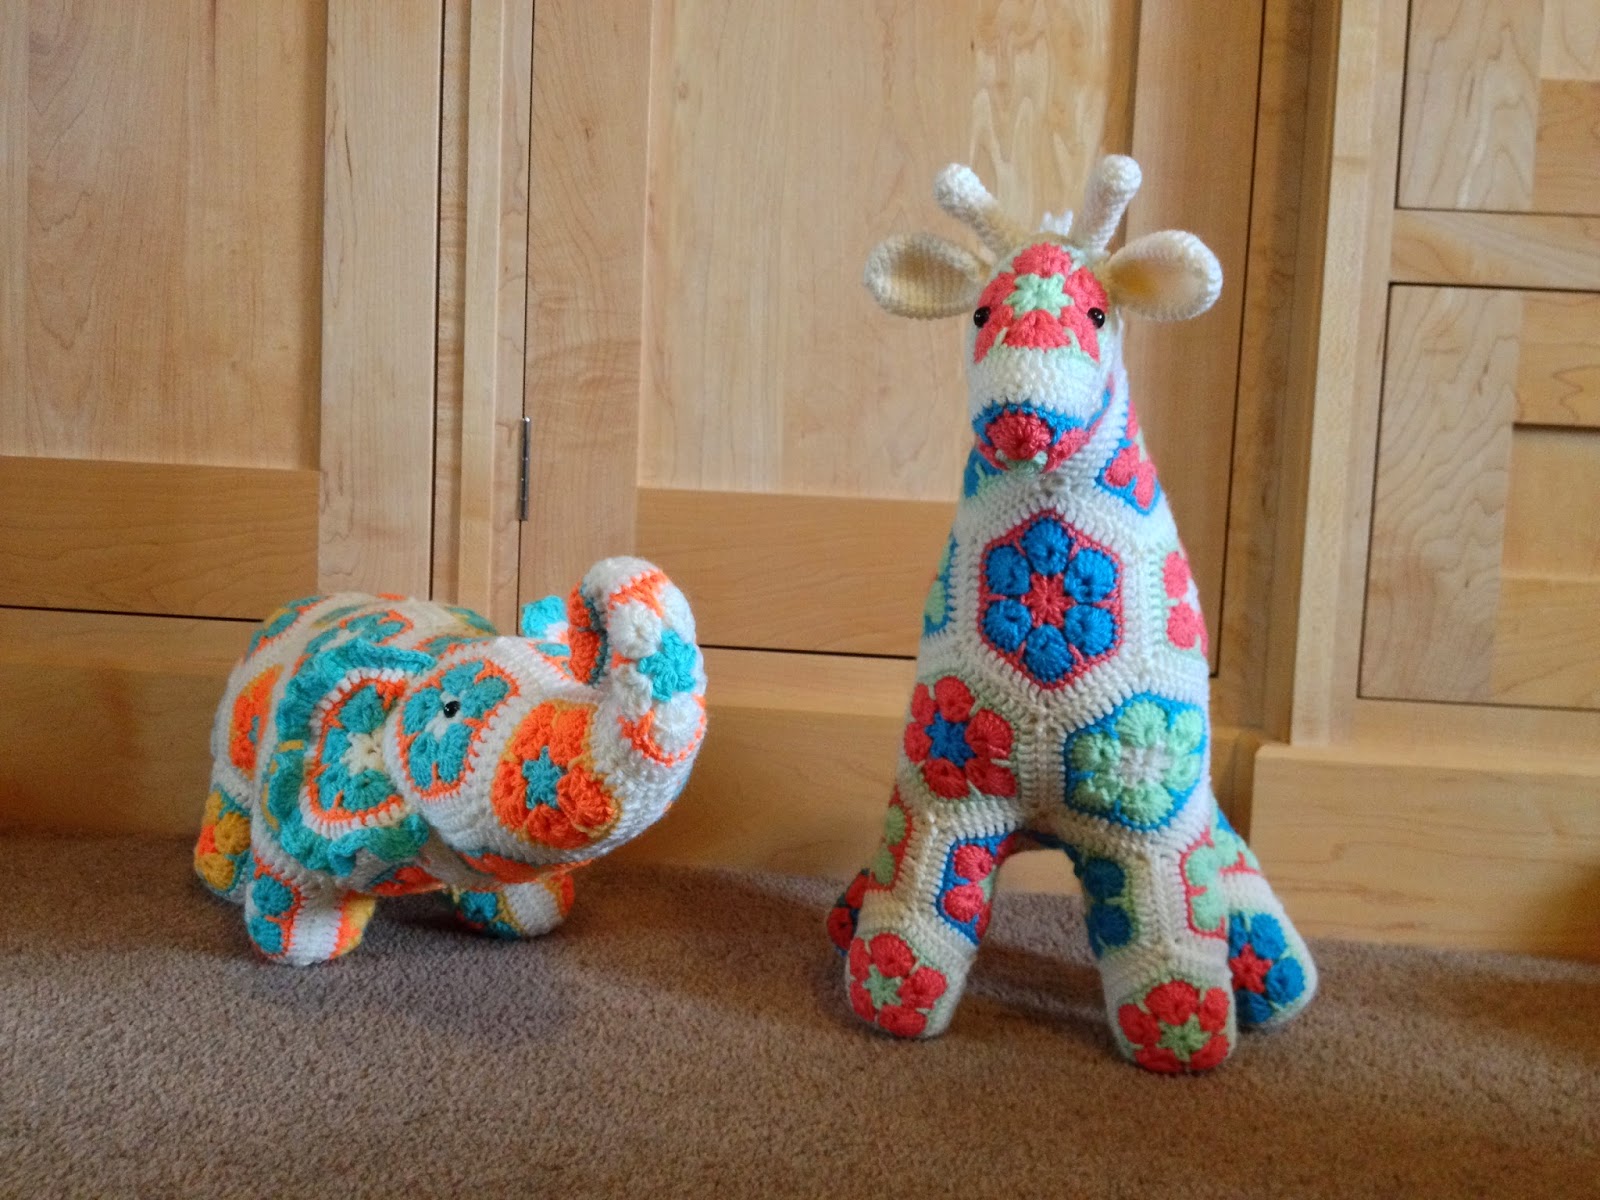
I am starting to have more work-in-progresses than I have actual finished pieces!!
Today a
friend and I decided to start a crochet-along to celebrate the end of our current courses. So we have decided to have a go at the
Happypotamus design by Heidi Bears. I am using Stylecraft yarn: plum, meadow and fiesta; James Brett baby vanilla. I am using a 3mm hook.
It is a mixture of different shaped african flowers....it is amazing what she has produced......so imaginative.
Today we managed to do 6 shapes...only another 38 to go; it should keep us out of mischief for awhile. Although we live 100 miles apart, we can still have a good laugh via facebook messenger and send pics of how we're getting on, or showing how to do something if we're a little confused. Unfortunately it does prove how difficult it is to count to 7 as we're not fully concentrating on what we're doing and so there has been a fair bit of frogging going on. All part of the fun though.
Here are 2 of the shapes we did today:
 |
| Pentagon flower (top) and Hexagon flower |
A friend has come up with a very good suggestion, so I shall be playing around with that soon and see how it looks before I say what it is.
It's a lovely pattern and I admired it some months ago but it was far too advanced for me and I was rather scared by it. However, the only new stitch was a long treble crochet, which now I am more confident, didn't phase me at all! It is really amazing how fast you progress with crochet.
Today we did some more pentagons; we need 26!!! I also did a heptagon:
 |
| Heptagon |
Didn't get much done today :-(. I did a lot of centre pieces ready for tomorrow and the nose square; something is better than nothing I suppose
 |
Nose square
|
Seems a little bare without the long treble stitches.
Another terribly non-productive day......well when the weather is behaving, it is a good idea to do some gardening. Today I did a couple more pentagons and an octagon.
 |
| Octagon |
I have hit the half way mark: 17 pentagons, 1 octagon, 2 heptagons, 1 hexagon and a nose patch. I have got plenty of darning in of ends to do but it is very satisfying seeing the pile of motifs getting bigger. Would you like a peek? Oh all right then :-)

I can't wait to see this in its final form. I'm thinking of turning it into a doorstop for the lounge....the colours will go perfectly there.
After so long all the motifs were made....they were overflowing out of my little tin.
Now came the tricky bit......assembly time. It was a bit of a challenge. I decided to sew mine together as I couldn't get to grips with Heidi's 'join as you go' method, however, I think it probably is worth persevering and mastering it (I shall do this next time). Yes, even though I was starting to get bored with making all the motifs, there will be a next time.
I'm not going to say exactly how he was put together as you can see for yourself by clicking on the 'happypotamus' link above.
Ok I will show a little bit: first came his legs, and what lovely little legs they were :-)
 |
| one leg |
Once I got the hang of it, he grew quite quickly:

As I had decided to make him into a doorstop, before I filled the body with toy stuffing (and boy did he eat some stuffing - well I don't suppose they get to that size on nothing), I filled some sandwich bags with about 2 tablespoons of play sand and tied the tops securely. I put a bit of stuffing in and then the sandbags and then more stuffing around them so that you couldn't feel the bags and then continued to fill his body.
Sewing the head on was quite a performance; he needed locking into place....my legs came in handy here, whilst sewing and he needed to manipulated a lot but it was very exciting as he was nearly complete. The last motif was in place and hurrah, only the ears to do - only to find that my last 2 shapes had to have the last round frogged and redone as it wasn't to be completed like the others..........it would have been useful to have mentioned this at the beginning as is was a little demoralising to have to pull work apart at this late stage. Never mind, they were done and stitched in place. But something was missing.......something was anatomically wrong with this hippo......as lovely and splendid as he was........that's right, no tail. Well I couldn't leave him like that so I fashioned him a lovely tail, after having looked at lots of images of hippo's tails on the internet. I made a teardrop shape and stitched the pointy end together and stuffed it as much as I could. I left the fatter end open and put some stuffing in there and sewed it onto his bottom. Oh and I added some hairs as some of them have a bit of a hairy tail :-)
Drum roll.............and now I would like to introduce you to CLAUDIUS!